> ## Documentation Index
> Fetch the complete documentation index at: https://docs.tess.im/llms.txt
> Use this file to discover all available pages before exploring further.
# Workspace
When you create your account on Tess, the next step is to customize your Workspace. This environment is your work panel (whether individual or collective), and setting it up correctly is essential to create an identity for your team and facilitate collaboration.
### **What is the Workspace?**
Think of the Workspace as the main profile of your account. It is the page that represents your team or your company within Tess. This is where you define the name, image, and information that all members and visitors will see.
### **Accessing Workspace Settings**
There are two simple paths to reach the settings screen:
* Access your team's main panel.
* Click on the "Workspace Settings" option.
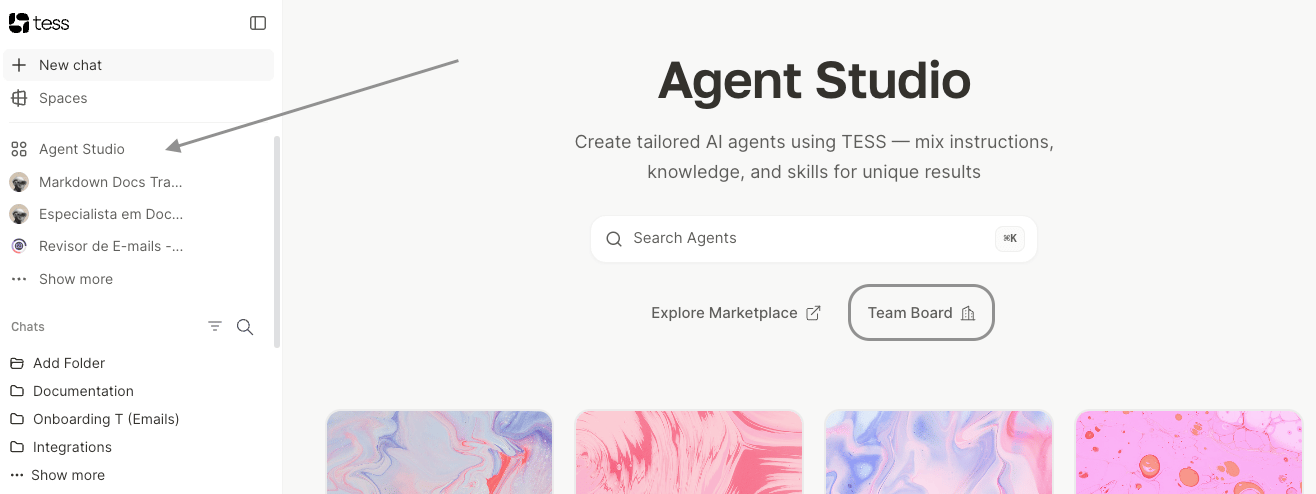 * Click on your profile icon in the bottom-left corner.
* Select the "Settings" option and locate the Workspace.
* Click on your profile icon in the bottom-left corner.
* Select the "Settings" option and locate the Workspace.
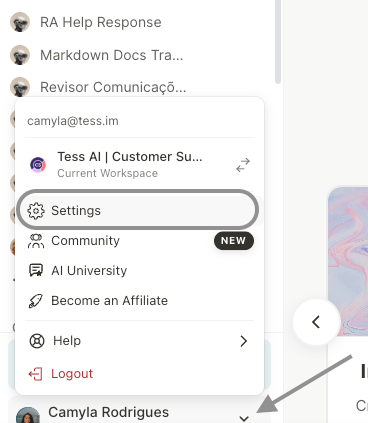 Both paths will take you to the same customization screen:
 ### **Customizing Your Workspace Information**
Now, let's fill in the fields to bring your work environment to life:
The display name of your Workspace. It can be your company name, your team name, or your personal name.
The unique identifier of your profile (e.g.: @your\_company). It will be used in the URL of your public profile.
The main image that represents the account. Ideal for using your company logo or a professional photo.
A short, impactful phrase that appears just below the name, in the header of your profile.
The header image that sits at the top of your Workspace, functioning as a banner.
A space for more detailed information. The text entered here will be visible on the "About" tab of your profile.
You can add links to your social media profiles or your company's profiles. These links will appear on your profile and redirect anyone who clicks on them to the respective pages, centralizing your brand's contact points.
### Final Step: Save Your Changes!
After filling in and reviewing all the information, click the "Save" button. This is the most important step to ensure all your customizations are applied.
Your Workspace is now set up with your team's visual identity and information. Remember that you can revisit these settings and edit whatever is necessary at any time, following the same process.
### **Customizing Your Workspace Information**
Now, let's fill in the fields to bring your work environment to life:
The display name of your Workspace. It can be your company name, your team name, or your personal name.
The unique identifier of your profile (e.g.: @your\_company). It will be used in the URL of your public profile.
The main image that represents the account. Ideal for using your company logo or a professional photo.
A short, impactful phrase that appears just below the name, in the header of your profile.
The header image that sits at the top of your Workspace, functioning as a banner.
A space for more detailed information. The text entered here will be visible on the "About" tab of your profile.
You can add links to your social media profiles or your company's profiles. These links will appear on your profile and redirect anyone who clicks on them to the respective pages, centralizing your brand's contact points.
### Final Step: Save Your Changes!
After filling in and reviewing all the information, click the "Save" button. This is the most important step to ensure all your customizations are applied.
Your Workspace is now set up with your team's visual identity and information. Remember that you can revisit these settings and edit whatever is necessary at any time, following the same process.