Setting Up Your Workspace
The first step to making the most of Tess is to set up your workspace. The platform was designed for professional use, allowing you to centralize your work and collaborate with your team efficiently.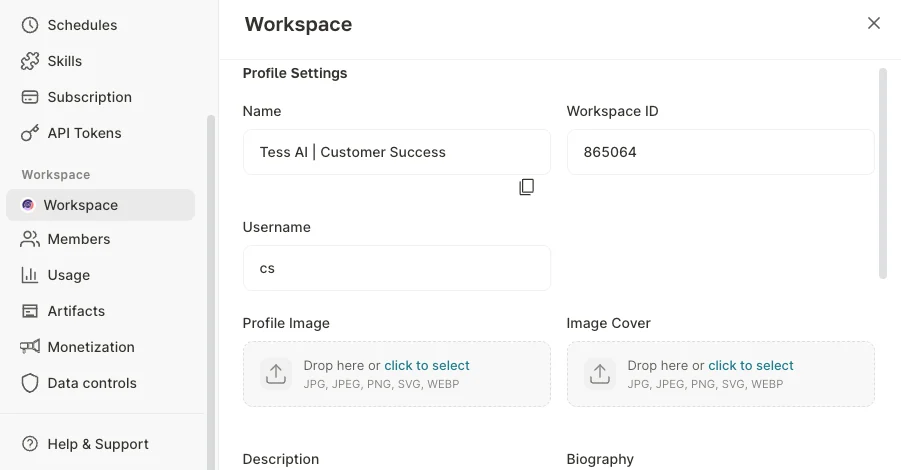
You can configure:
- Profile Name
- Profile and Cover Images
- Description and Biography
- Social Profiles
Inviting Your Team
You can invite all members of your team to the platform. To do so, go to the settings and, in the member management area, send invitations to your team or create a secret link for bulk invitations!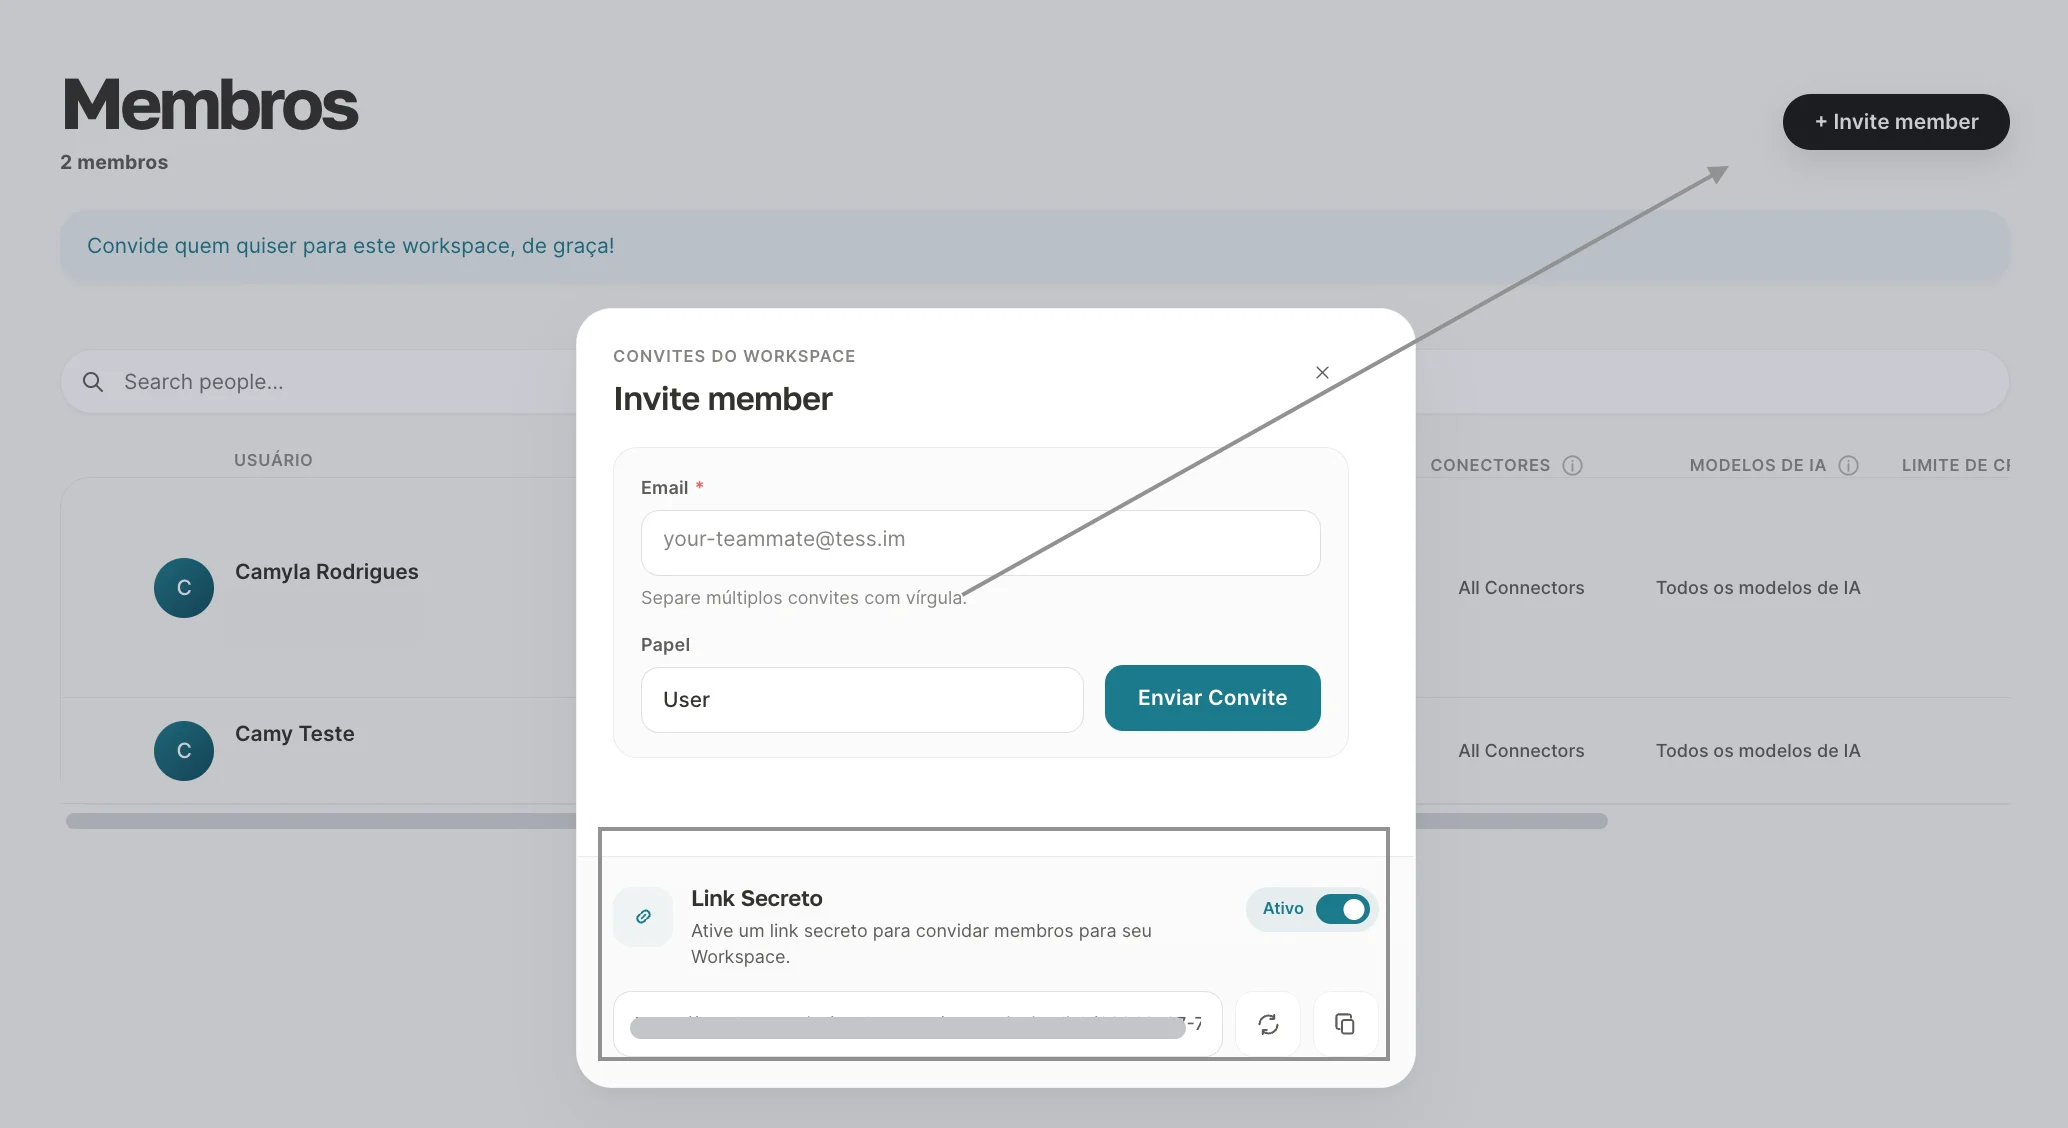
Step by Step:
- Go to the Settings menu.
- Select the Members or Users tab.
- Click on Invite new member, set the permission level, and enter the professional’s email address. Or generate a secret link so more people can log in at once.
Managing Your Credits
Your workspace has a single credit wallet that is shared among all users. This simplifies management and ensures that the entire team has the resources needed to work, without the need to manage individual subscriptions.The workspace administrator (Owner) can track consumption and add more credits whenever necessary.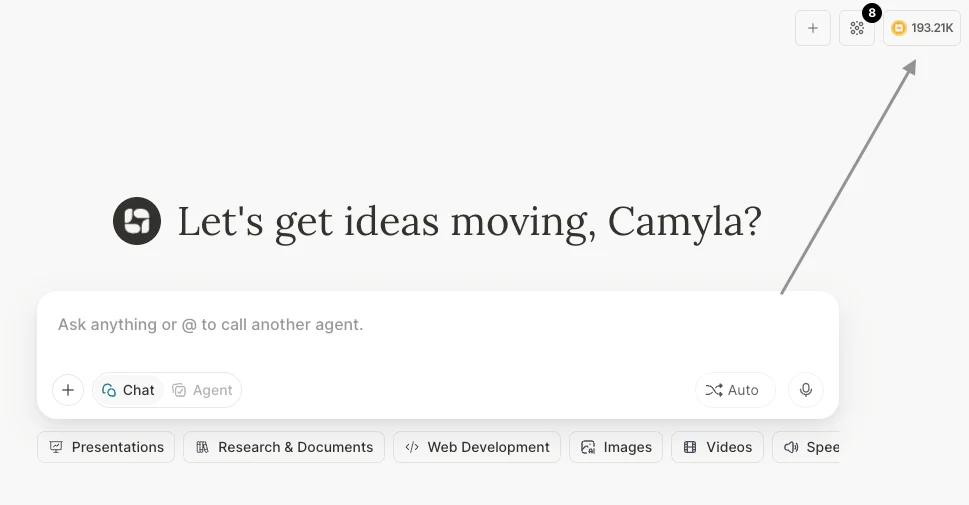
Getting to Know the Interface: Main Menu
When you access Tess, you will find a clear and organized interface. Getting familiar with the main menus is essential for smooth navigation. Here are the main shortcuts on the platform’s side menu:
- New Chat: Clicking this button opens a new chat with a clean context window to start working with the AI.
- Spaces: This is the ultimate control panel and repository for all files, artifacts, and items uploaded or generated within your workspace in Tess.
- Agent Studio: the environment where you can create and publish your AI Agents, fully no-code. In this section you can also access the Image, Video, Code, Audio, and Transcription Generators, if you want to use them separately (outside the chat interface).
- Latest Agents and Generators: To speed up your workflow, just below the Agent Studio button you will see the most recently used agents. With a single click, you can resume a task or start a new conversation with these agents, without having to search for them again in Agent Studio.
- Chats: folders created to group your conversations and make it easier to manage all your work. Just below, you will see your entire previous conversation history.
- Settings: Click on your username and access your account settings: manage your profile, workspace, members, and much more.