

What is the Workspace?
Think of the Workspace as the main profile of your account. It’s the page that represents your team or your company within Tess AI. This is where you define the name, image, and information that all members and visitors will see.Accessing Workspace Settings
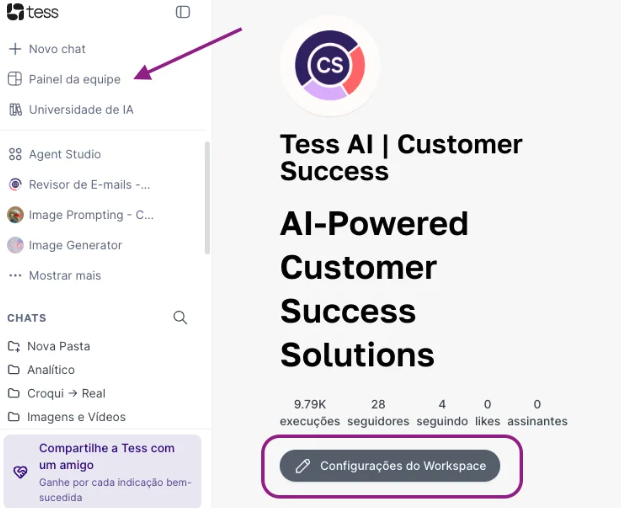
There are two simple paths to get to the settings screen:Through the Workspace Menu
- Access your team’s main dashboard.
-
Click on the “Workspace Settings” option.
Through the User Menu
- Click on your profile icon in the lower left corner.
-
Select the “Settings” option and locate the Workspace.

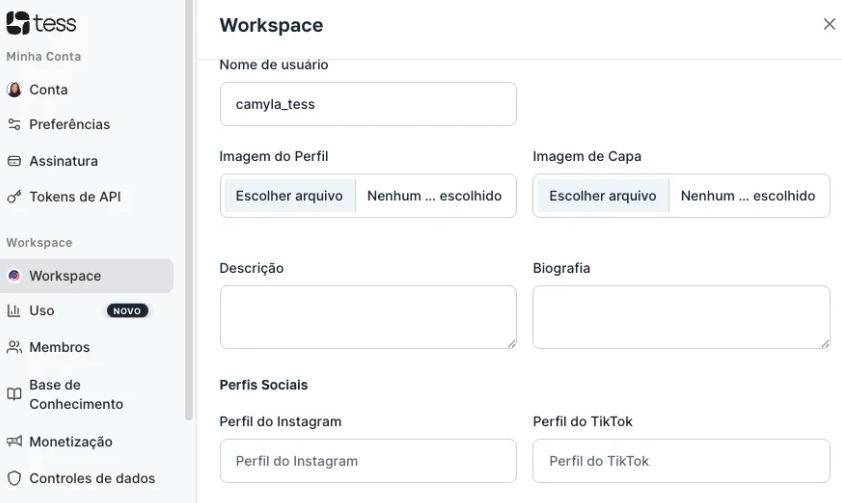
Customizing Your Workspace Information
Now, let’s fill in the fields to bring your work environment to life:Name
Name
The display name of your Workspace. It can be your company name, your team’s name, or your personal name.
Username
Username
The unique identifier of your profile (e.g., @your_company). It will be used in your public profile URL.
Profile Image
Profile Image
The main image that represents the account. Ideal for using your company logo or a professional photo.
Description
Description
A short, impactful phrase that appears just below the name, in your profile header.
Cover
Cover
The header image at the top of your Workspace, functioning as a banner.
Bio (Optional)
Bio (Optional)
A space for more detailed information. The text entered here will be visible on the “About” tab of your profile.
Adding Social Media (Optional)
Adding Social Media (Optional)